OpenMediaVault su Raspberry Pi 4
Guida su come installare OpenMediaVault su Raspberry Pi 4, con setup iniziale minimale. Io ho già un Nas in casa, più un cloud con Nextcloud accessibile da internet, sempre su Raspberry Pi 4, ma ho voluto unificare tutto sotto OMV. Il punto forte è quello di avere una unica interfaccia centralizzata, e da lì avviare tutti i servizi di cui un Nas ha bisogno. I servizi fondamentali riguardano la sicurezza, il failover e la ridondanza, e su OMV si possono avere con l’aggiunta anche di plugin esterni. Per questa guida ho usato Raspberry Pi OS Lite.
Aggiornamento OS:
sudo apt update
sudo apt upgrade -y
sudo reboot
Installazione:
wget -O - https://raw.githubusercontent.com/OpenMediaVault-Plugin-Developers/installScript/master/install | sudo bash
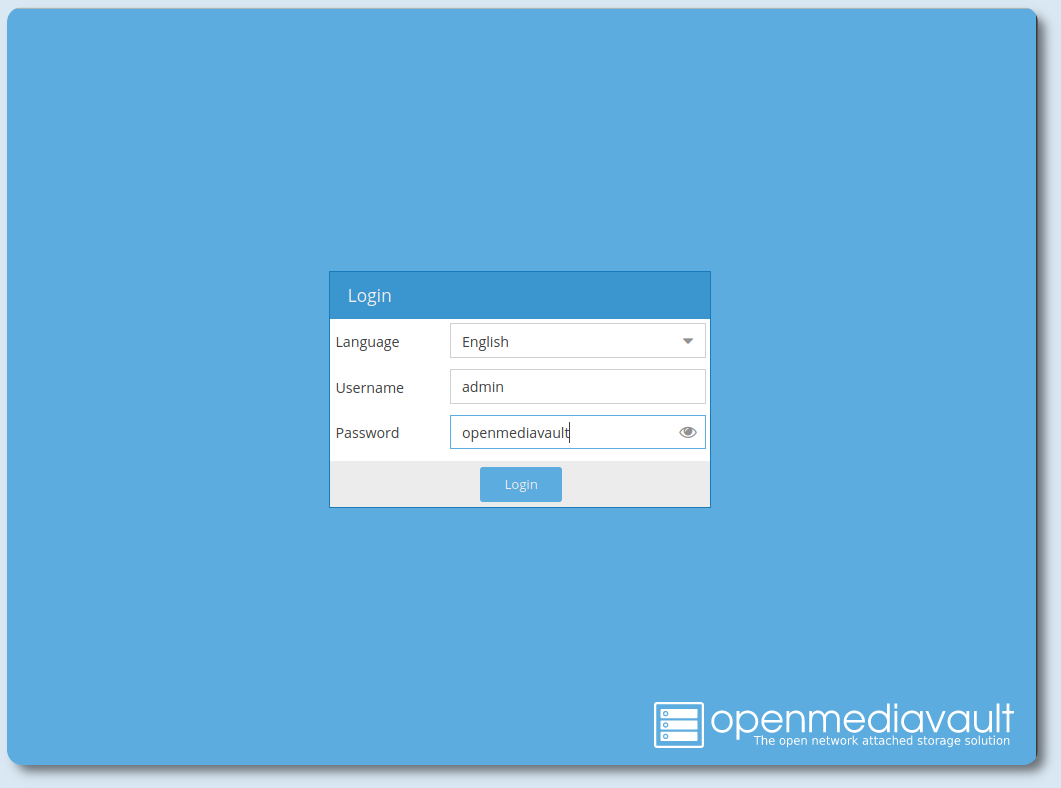
per il completamento dell’installazione ci vorrà circa 20 minuti, dopodichè il sistema si riavvierà. A questo punto accedere al raspberry pi via WEB GUI, come user=admin e password=openmediavault:
http://Raspberry-ip-address

Per prima cosa all’accesso bisognerà subito modificare un paio di cosette, ricordandosi che le modifiche fatte via WEB GUI hanno la priorità su quelle fatte manualmente, in virtù del fatto che OMV utilizza files di configurazione differenti.
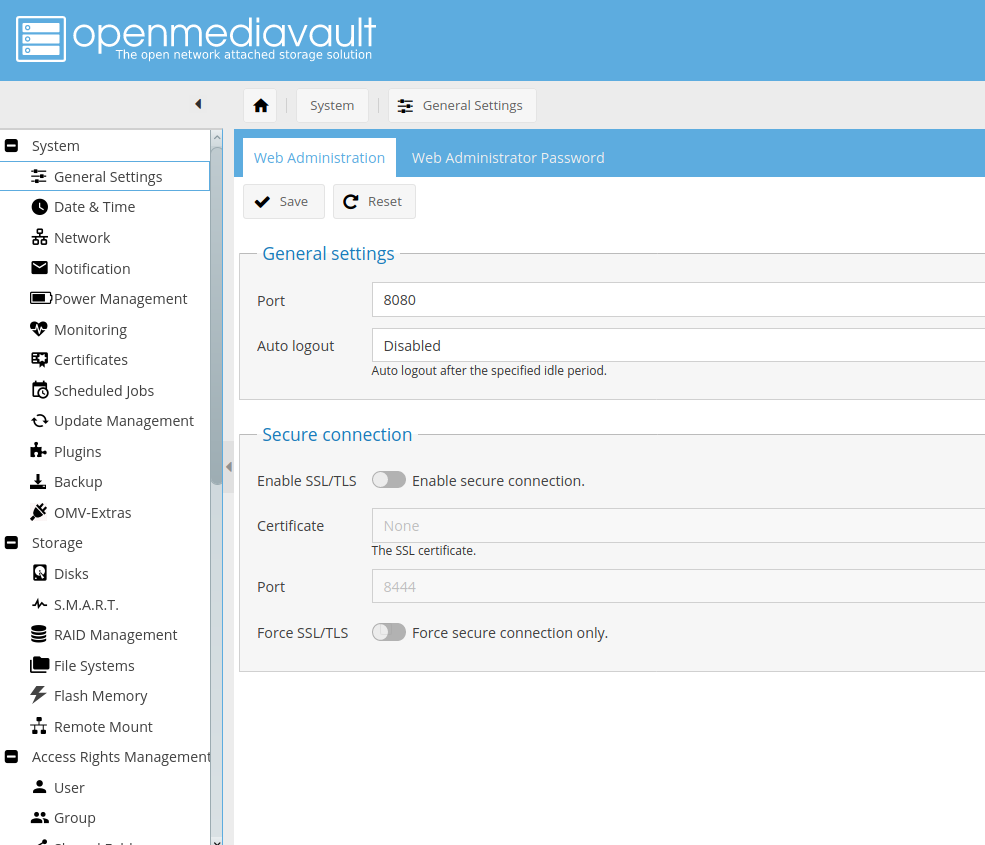
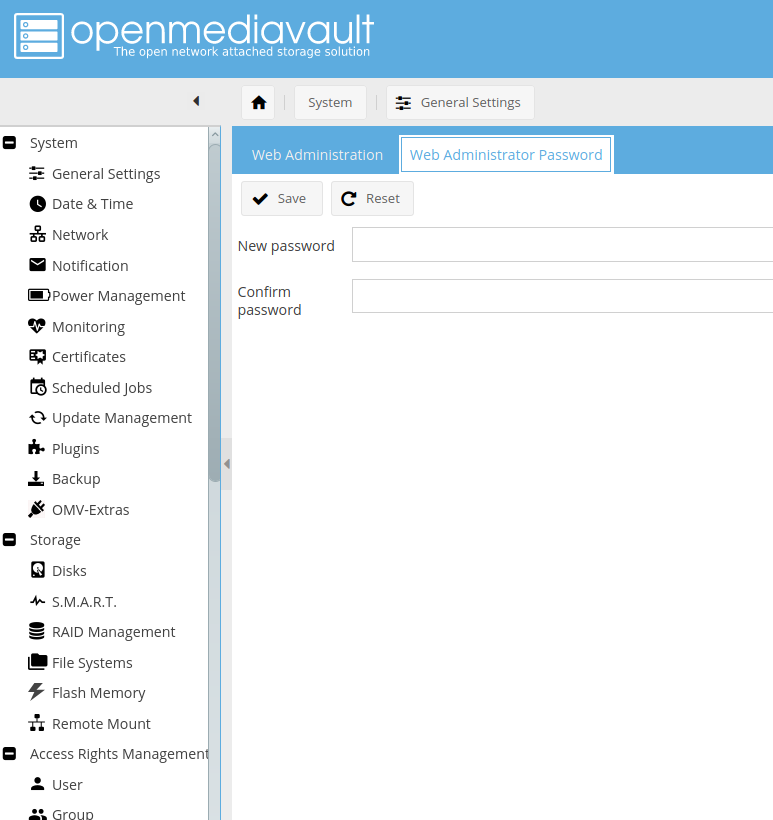
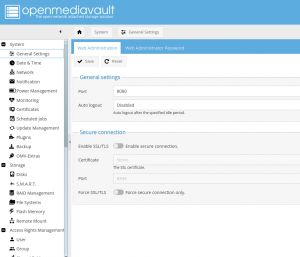
System>General Settings
cambiare porta, Auto logout su disabled, e cambiare password di accesso alla WEB GUI:

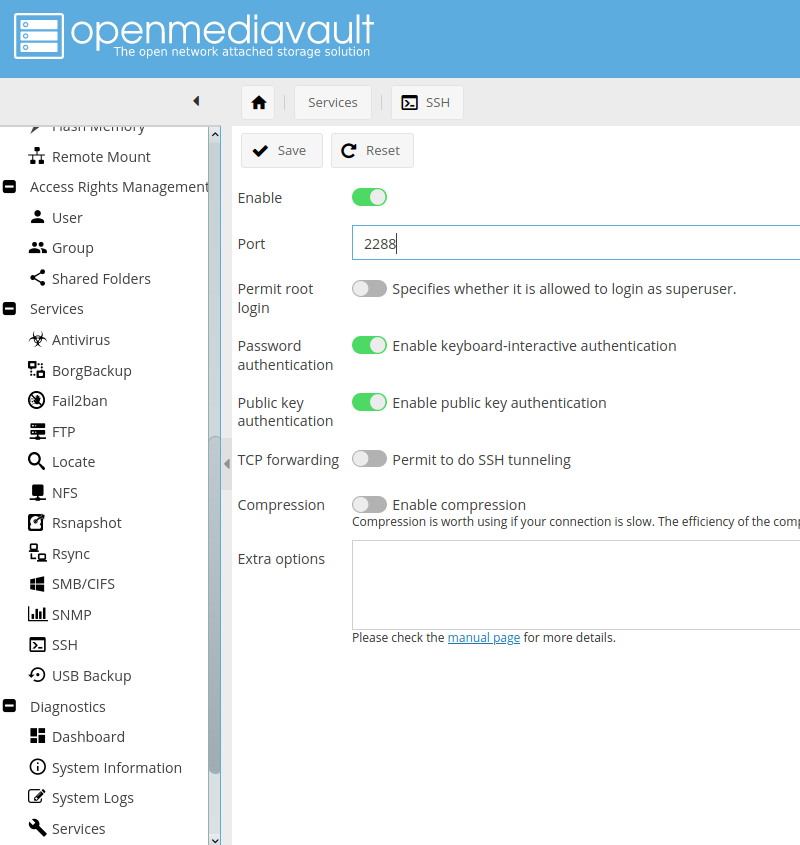
Services>SSH
cambiare porta ssh:

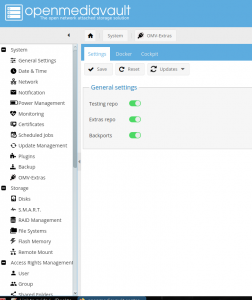
System>OMV-Extra
abilitare repository addizionali:
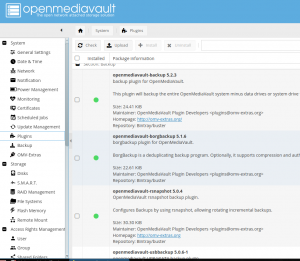
System>Plugins
installare i plugins di cui si ha bisogno (quasi tutti)
successivamente pubblicherò altre guide entrando nel dettaglio su alcune configurazioni fondamentali.
OpenMediaVault 5 su Raspberry Pi 4
enjoy 😉